Bicycle Tire Wreath

Have you seen the new trend in front door décor? Upcycled Bicycle tire wreaths! If you know me at all, you certainly know that I love anything where old and new are combined, and re-using is my JAM! This immediacy spoke to me.
As hard as I searched, both on used items sites and asking around, I was unable to locate an old bicycle wheel, and nearly went in a different direction. In April however, the stars aligned and at a baseball game my daughter came running out the bushes (yes, I totally have a bush baby…and her hair usually matches her title) carrying an old tire and yelling, “Mom, is this what you were looking for?”. SCORE! The other baseball mommas were worried about my sanity, and my husband shook his head expecting nothing less (and fully aware my sanity is long gone…). But I was thrilled.
I do love the Peony and Eucalyptus wreaths that I see floating around on Pinterest (this is my Wreath Inspiration page) but couldn’t find any fantastic artificial Peonies, so I decided to go in a different direction. I started collecting artificial Eucalyptus, Succulents, Dogwood Flowers and Monkey Pods at Homesense and (when I had a coupon) at Michaels. This week it has really come together like I had hoped. If you want to make one too, here are the details:

What you will need:
bicycle tire (tube, reflectors and lug bolts/wheel studs removed)
small guage wire (dollar store)
plyers with cutting edge
scissors
hot glue gun/glue
3m hook (only needed if you are doing an off-centre wreath like I did, this will be hidden but make sure it hangs straight)
variety of dried or artificial plants (groupings of 3 or 5 are more appealing to the eye than 2 or 4)
a low bowl (like a pasta bowl)

Step 1:
Place the centre of your wheel in the bowl. This will give you a little clearance for work space between the edges and the counter without it tipping all over the place. I only tried this towards the end and this would have helped a lot from the start.

It took until I was this far along to realize that having a bowl under the highest point (the centre of the wheel) made the process much easier!
Step 2:
Take the longest branches and place them in opposing directions, tucking them inside the rim (trim if necessary. Your pliers will be strong enough to cut most artificial stalks, they usually have wires inside). Only the ends will show, you will cover the middle by layering more on top. Secure 1/3-1/2 of the branches (the parts that will be hidden) by wrapping with wire.


Step 3:
Start with the heaviest plants first and trim so that stems are no longer than 2”-3”. Using wire wrap the stems and wrap the wheel and spokes directly under them tightly. If they are still a little wobbly and you have already wrapped a lot of wire, don’t worry, you will apply hot glue at the end to stop the minor movements. Ideally you want to work from the outside in so that the center pieces overlap the outer pieces once it is complete.

These succulents were HEAVY!
Step 4:
Step back and have a good look several times before you complete the wiring to make sure you are happy with how it is balanced. I made several changes as I went, but it is much harder to change once you reach the next step…Glue.

Taken before I attached the largest part of my arrangement. Continue and fill in the centre too before moving on to the next step.
Step 5:
Once the background and all of the heaviest items are secured with wire, use the hot glue gun to secure the wobbly bits together at an appealing angle and glue the littlest pieces on to the top.
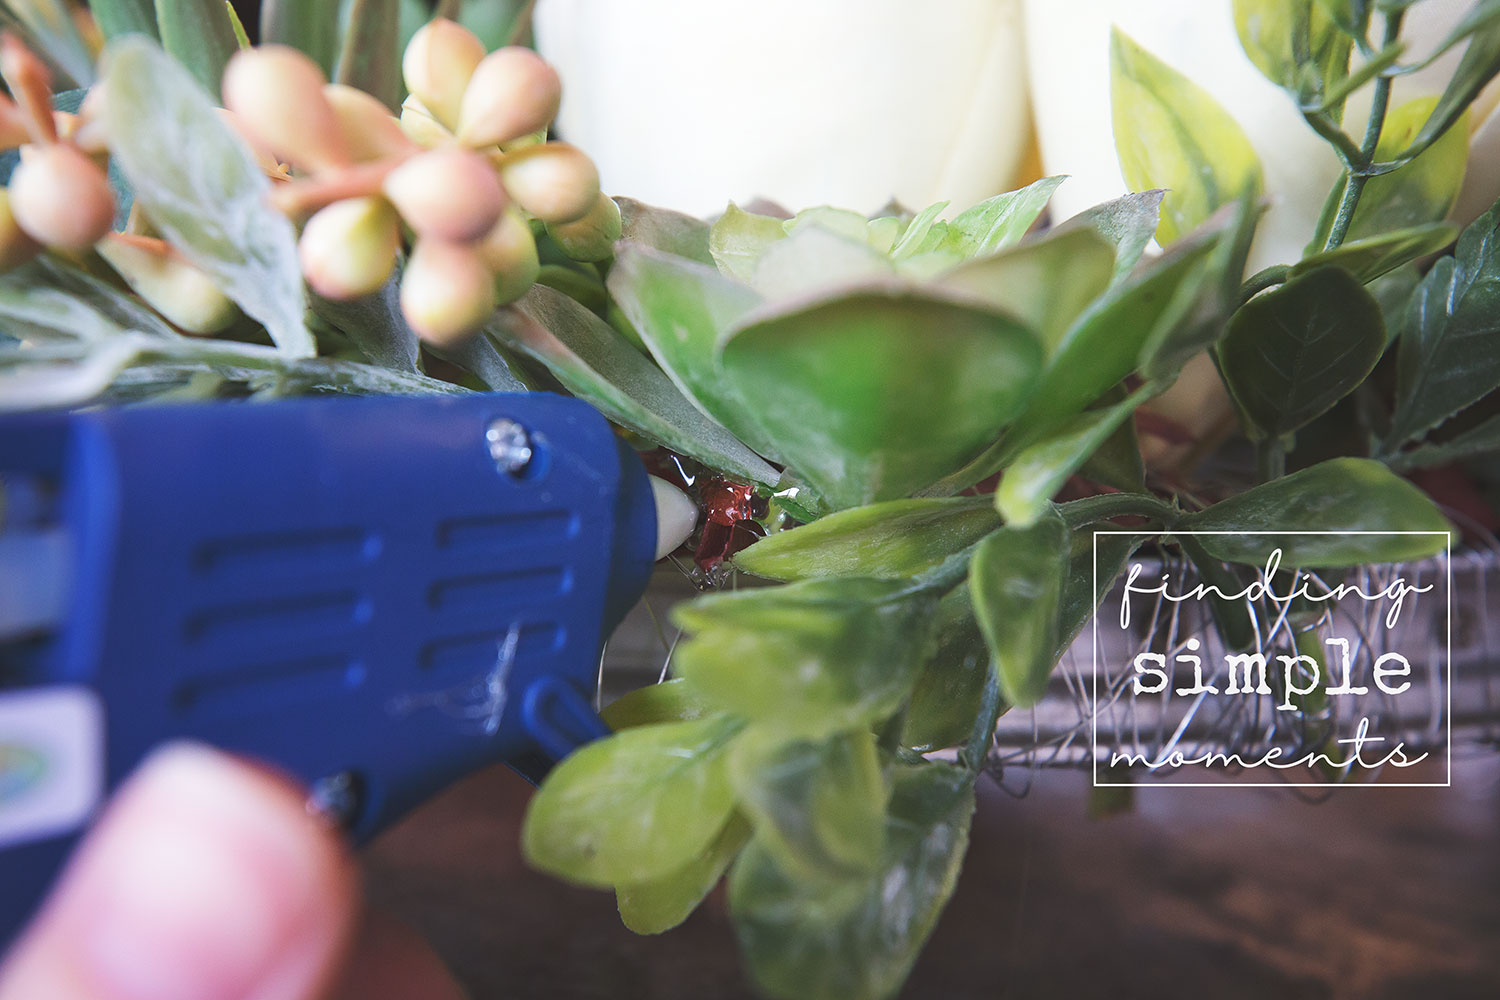
Re-enforcing a wobbly succulent with glue.
Attaching the lightest pieces with glue.

A view of the (messy) back of my completed wreath once glue and wire secured all parts.
Step 5.
If you are happy with how it is looking, add glue to the centre on the INSIDE of the wheel, so that it doesn’t scratch your door or whichever surface you hang it on.

Step 6:
If you are making an off-centre wreath like I am, it will hang funny because one side is heavier than the other. If you don’t like the way this looks, I solved this problem by adding a 2” loop of wire around the inside of the wheel exactly where I wanted the bottom to be, hooked a removeable 3m hook to it and then once I hung the wreath with my door hook, I was able to pull the bottom of the wreath so that it was centered, peel the backing off the 3m hook and stick it in place. It did a great job holding it centered, no one can see it, and it also prevents my heavy wreath from rattling in the wind.

This is how mine turned out.


I think you will be surprised with how easy it is. As I have been making mine this week, three people have messaged me an said “it’s gorgeous but mine would never look like that”. Don’t be crazy. Here is my only advice…if you are nervous about how it is going to turn out, each time you place a few pieces (before you attach them) step back and look from above or snap a photo to see if you like their location before you secure them. You will save yourself time in the un-doing-department.
Happy up-cycling! Hopefully the spring snowstorms in Calgary will stop soon here and I can finish the rest of my front porch decorating!
xo ~Q
