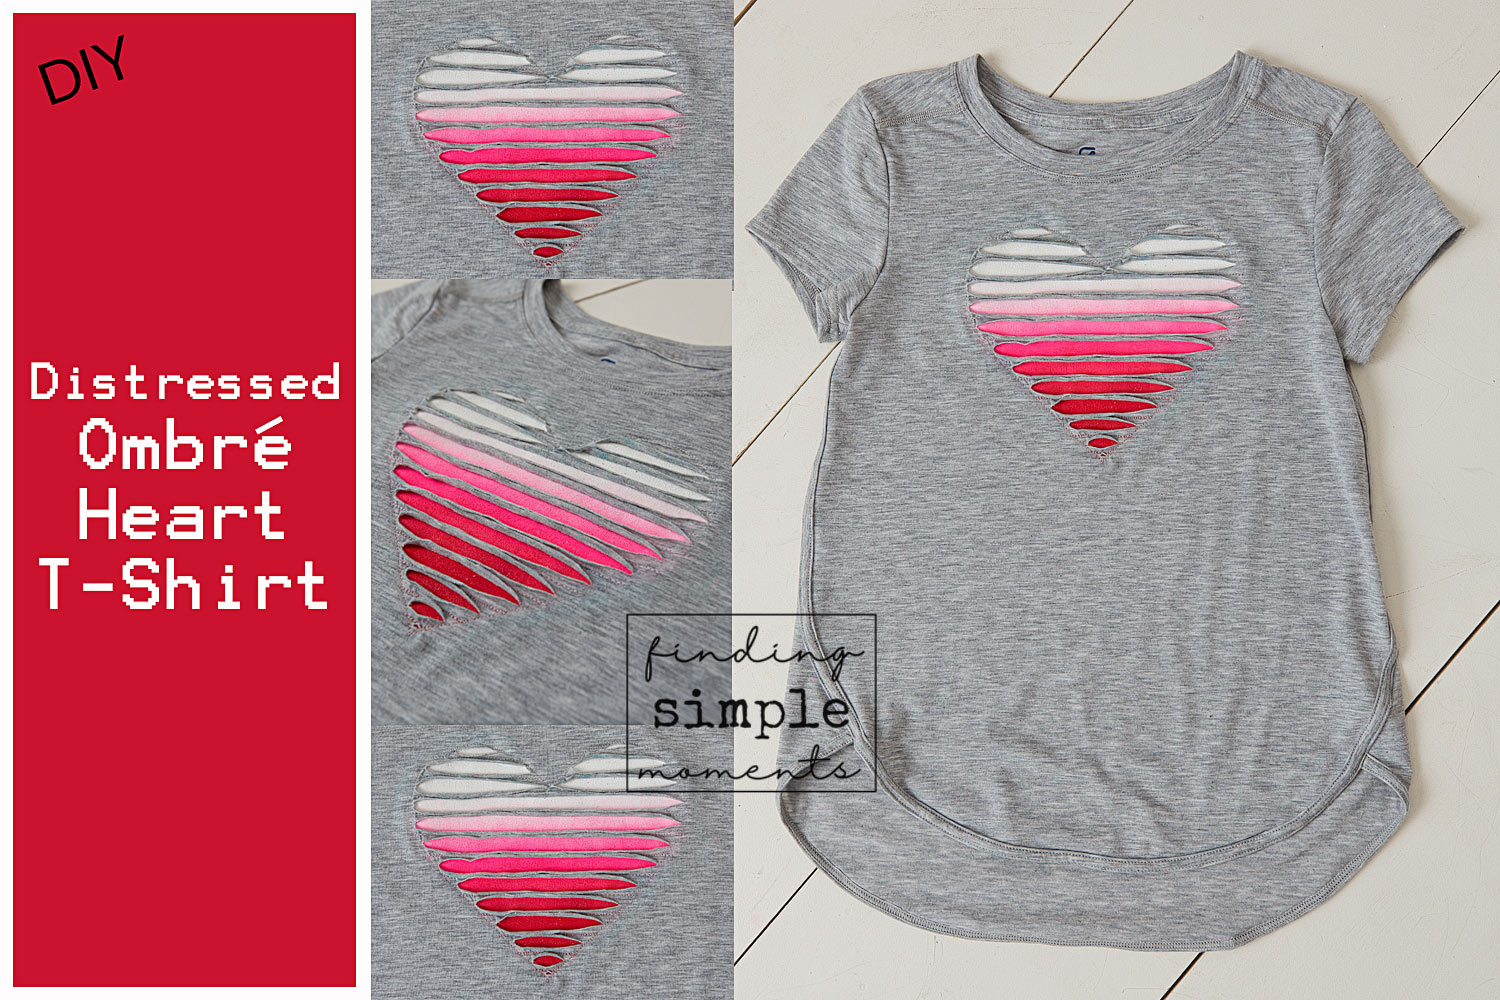
DIY Distressed Ombré Heart T-Shirt

It’s been a rough week around here, but as always, getting my hands dirty is very grounding and just makes everything feel better. So I might be a little behind on my timeline, but as promised, here it is!
When I dreamed up this project, I had a vision of what I wanted to create but I had no clue if it would turn out at all. Boy am I happy with the results. I am really looking forward to the look on my daughter’s face when I show her how it turned out, she’s going to love it. (Update: she squealed and put it right on.)

If you have a very basic sewing knowledge and a few simple supplies, this is a lot easier than you will expect it to be.

Supplies:
t shirt (I went with heather grey but black or navy would have been adorable too with the red/pink ombre)
white, pink & red fabric paint (I bought mine at Walmart)
painting sponge-type brushes
cardboard
pins
sharp scissors
wash-off fabric marker (available at sewing supply stores) - I used the Unique brand
sewing machine
thread that matches your shirt
Sharpie marker
paper
ruler
wet rag
an old t-shirt or other jersey knit fabric (white)
I used an old stained white t-shirt to paint the ombre gradient on, since it was going in the garbage anyways (it was too gross to donate).
Don’t be intimidated by the quantity of steps below, it is only ultra detailed to make sure you don’t fail…I promise it is EASY!
Here’s the basic how-to:
Make a heart pattern with paper (lay it on the front of your t-shirt a make sure you are happy with the size).
Using the t-shirt you are going to paint on, lay your heart on top and trace out a larger square around it with a sharpie so that you make sure you have a large enough painted surface to fill in the heart (you will see the slashes I put on the sides, this was where I wanted to transition from one colour to another, to use as a guide).

Tuck cardboard into the old t-shirt as a stain guard and for stability.

Paint the colours on the fabric, I started with the three stripes (white, pink and then red), and then blended them together. I found I liked the results better when I used my fingers to blend the colours between stripes rather than the brushes.


Allow 24 hours to dry and then cut out and heat set with a hot dry iron (follow the directions on your fabric paint, this is what mine told me to do).
Pin heart pattern to your grey t-shirt, and centre it where you want it.

Trace around the heart with fabric marker (this is not like a washable Crayola marker…this is a sewing marker and the ink disappears when it gets wet). Remove pattern.

Using a ruler, draw stripes (about 1cm apart) filling the whole heart (see photo).

Tuck your ombre painted square inside, centering it behind your heart tracing. Pin them together (be careful not to pin through the back of the shirt).


Using a straight stitch, carefully and slowly sew around your heart shape, sewing both pieces of fabric together. If you go slowly, the top layer won’t stretch too much, my t-shirt was ultra stretchy, and I ended up with a couple of puckers, but nothing that is noticeable now that it is cut and complete.

Repeat process for each stripe.
Trim loose threads.
Using very sharp scissors, cut (top layer ONLY) of your grey shirt between each stripe you have sewn down. This will make your painting visible from behind. Be careful not to snip any threads.

Run your hands up and down over the design and this will cause all of your cut edges to curl. It will take on a distressed look and reveal your painting even more.

Trim the painted layer inside, to remove all bulk. (I left about 1/4 cm from all stitching). Jersey knit doesn’t fray so you don’t have to worry about your edges.

Use a wet rag to dab all marker gently until it disappears (mine needed cold water, again, follow the directions on the package, it depends which brand you have). Repeat if necessary once it dries.

That’s it! Hang it to dry and you can wear it right away. Don’t wash it for 72 hours, to help the paint set.
This design would make an adorable dress (I am tempted to sew on a red and pink ruffle skirt, I will let her wear it like this for a while and then if she gets bored of it I might add one). It would also make a really cute tote bag. I might even make myself one with a white, turquoise and teal ombre panel (my favourite colours).
~Q